
If you have the necessary authorizations, you can use the „Workbook in the cloud“ tile to create, edit or view development contracts.
Workbook Overview
The workbook consists of two views:
- The workbook overview gives you a complete overview of the current and completed items. Here you can create new items or edit the status of existing item directly.
- Click on an item to switch to the detail view. In this view you can edit a task completely.
The views of the workbook overview can be customized as required. New views can also be created and saved.
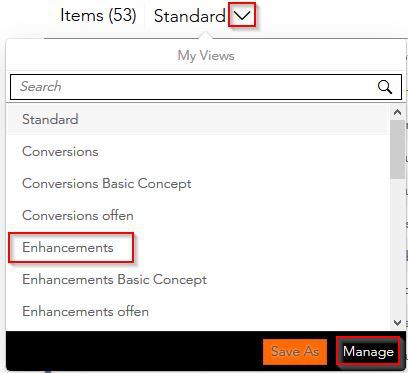
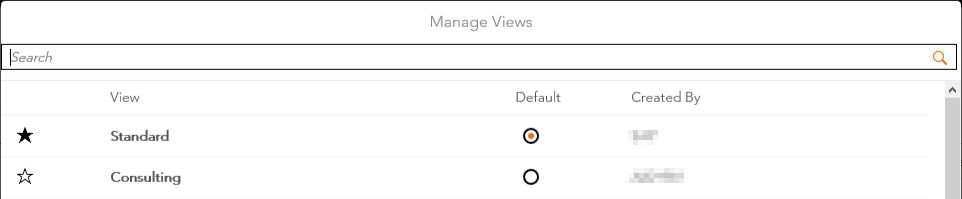
Using the menu item „Manage“ you can set which views appear in the selection menu and which is the default view.
Create Workbook-Item
In the Woorkbook Overview, you can create a new item using the plus symbol.

In the next step, the item type must be selected.
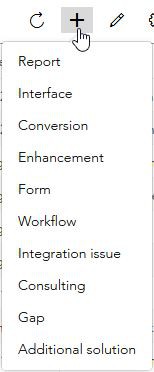
RICEFW (Report, Interface, Conversion, Enhancement, Form, Workflow, Integration Issue, Consulting, Gap oder Additional Solutions).
The RICEFW ID is automatically generated when the item is saved, depending on the selected item type.
The category classifies the purpose of the transaction:
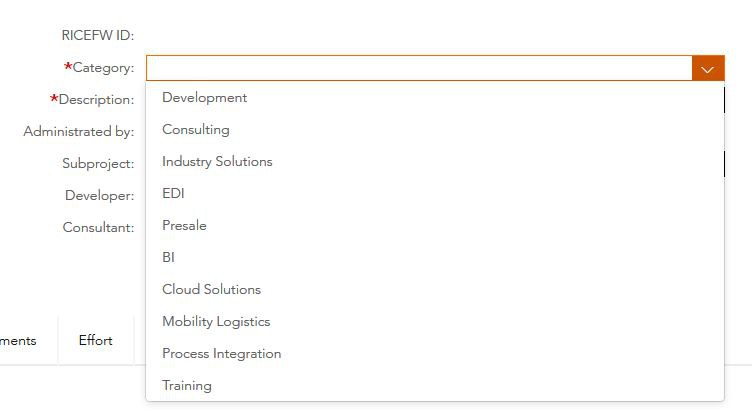
The description should summarize the activity briefly and clearly.
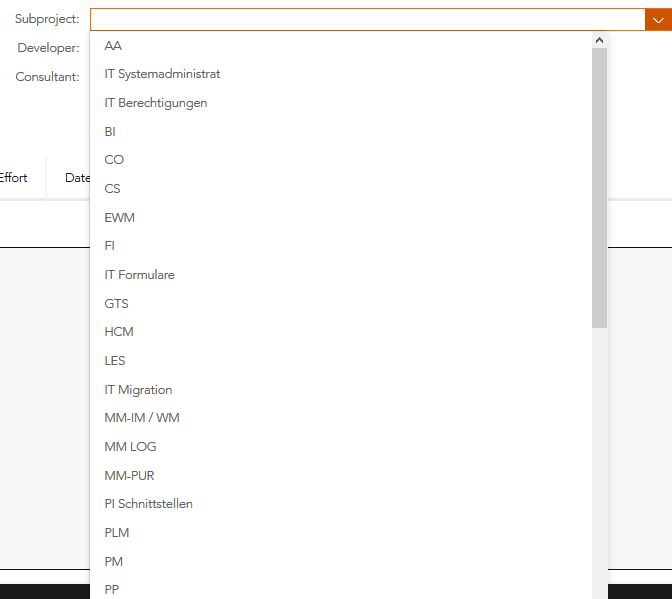
The selection of the subproject can specify the affiliation of the activity more precisely.
The selection of the developer, the consultant and the responsible agent can be easily done with the search.
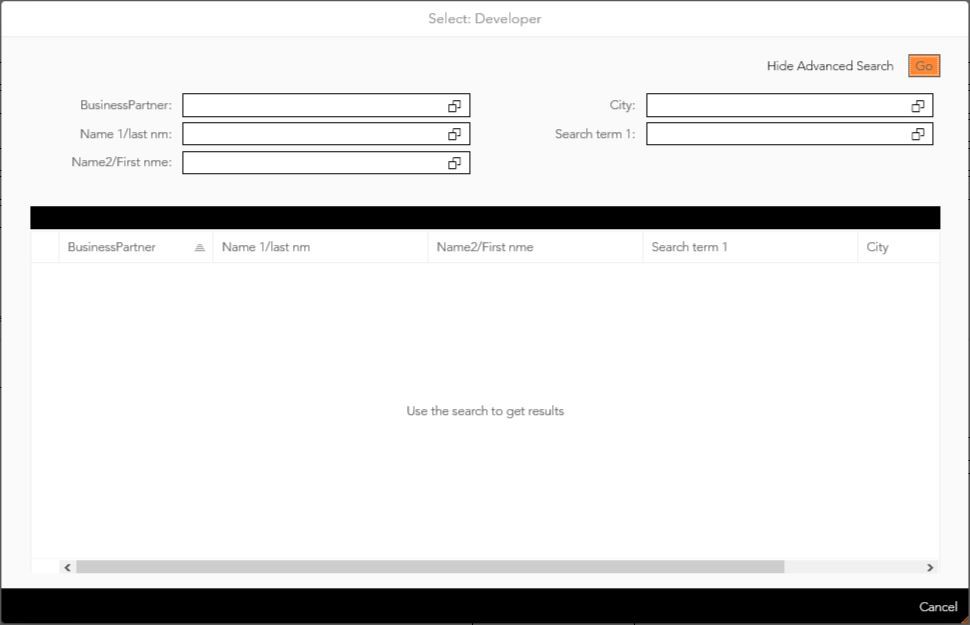
The fields Business Partner, Name1/last nm, Name2/first nm, City and Search item 1 can either be filled directly with a search term, or filled with a filter.
The filter conditions can be adjusted accordingly.
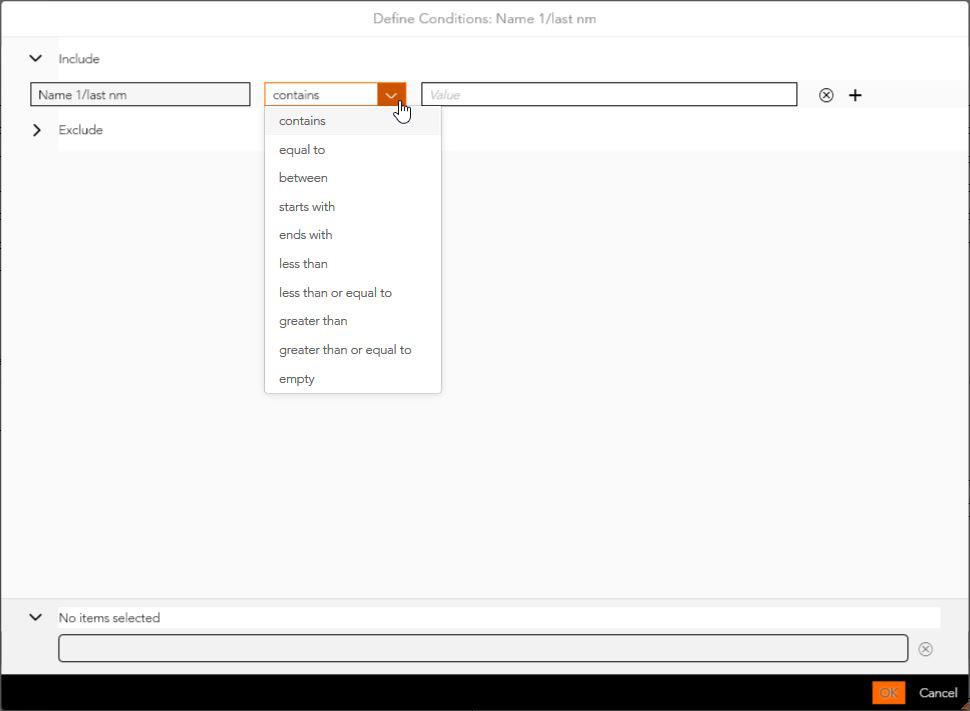
The status is automatically set to „Parked“ when the item is created.
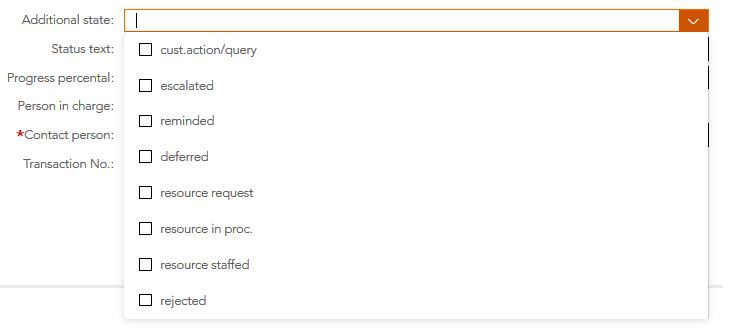
The status of the item can be specified more precisely using the additional status and status text.
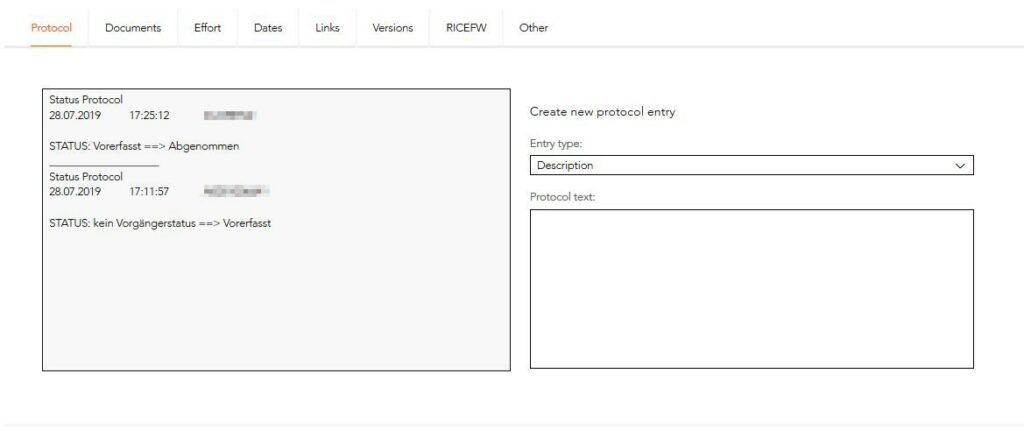
Tabs at a glance
Tab Protocol
Changes to the item are stored in the log. This can be used to write a response to the All for One Group.
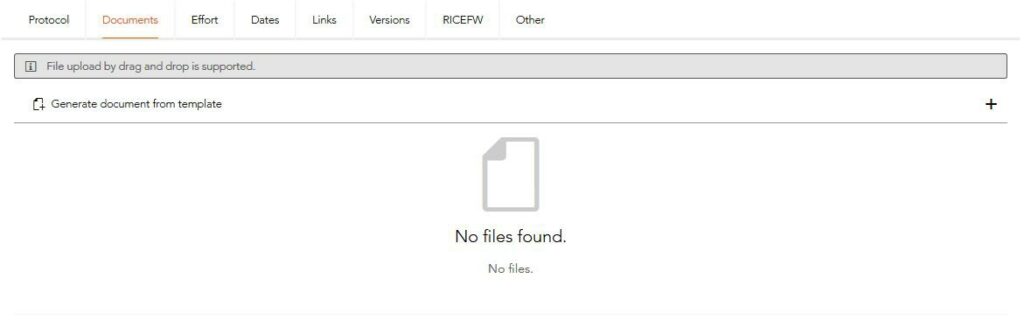
Tab Documents
Under the Documents tab, files can be added to the item either by drag and drop or by using the plus icon (Browse).
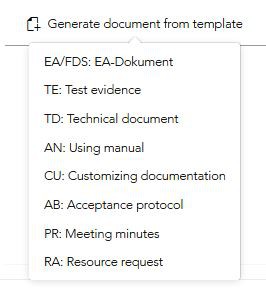
The following image shows how documents can be created from the available templates.
After clicking the „Document template“ button, a drop-down menu appears in which you can select the template for which a document is to be created.
The template can then be downloaded and edited. In order to save the changes in the Workbook process, the document must be uploaded again – here you are not asked whether the old version should be retained, if the names are identical, the existing document will be overwritten!
The process must be repeated for each new change.
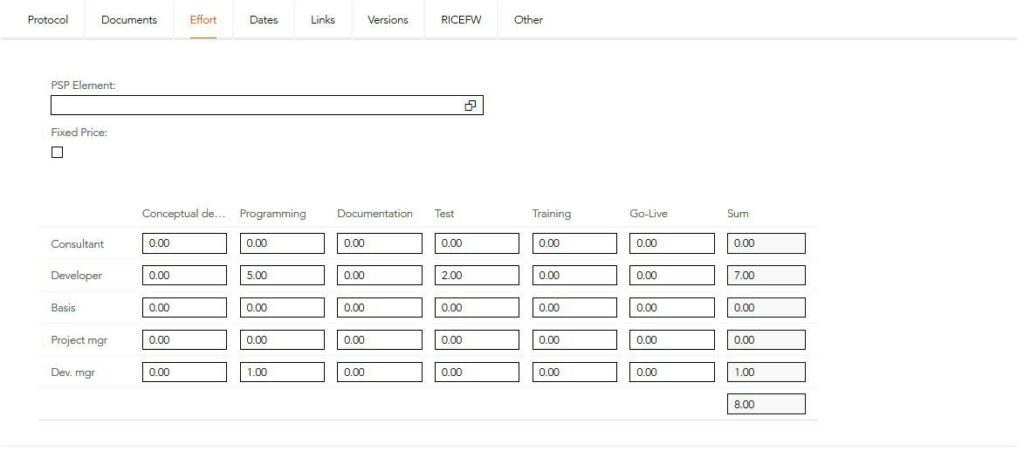
Tab Effort
An item is only calculated when all participants have estimated and entered their effort. In particular, the effort of the consultant is also to be recorded.
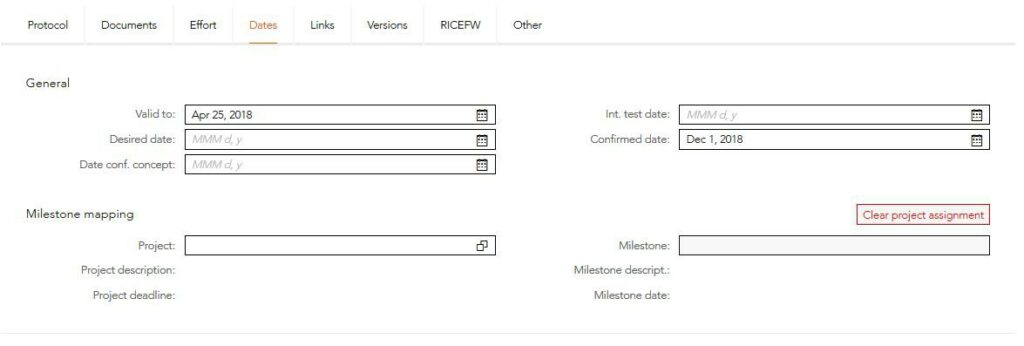
Tab Date
Relevant dates can also be entered.
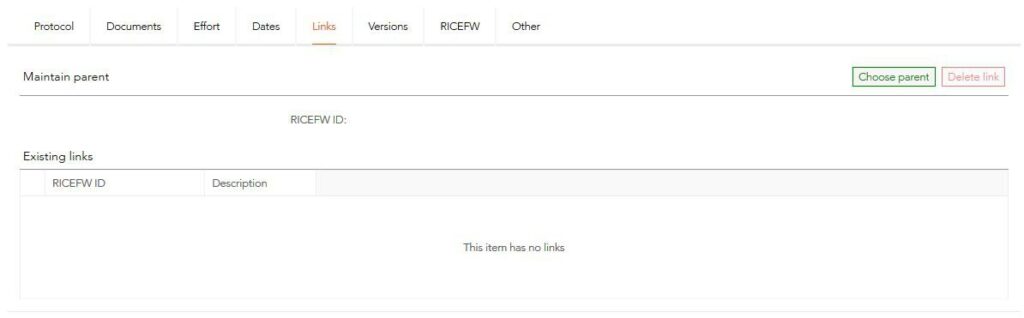
Tab Links
Objects can be linked hierarchically under the Links tab.
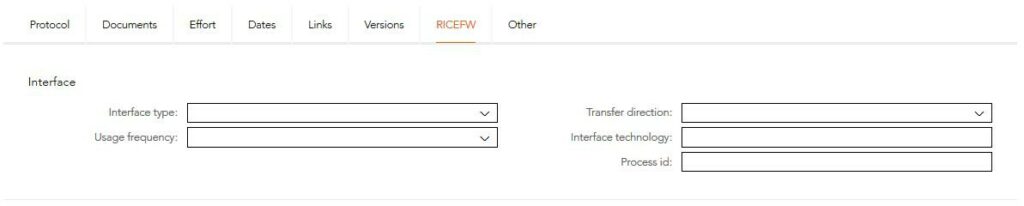
Tab RICEFW
The RICEFW tab contains the object-specific information. The content of the tab varies depending on the object type you have created (RICEFW).
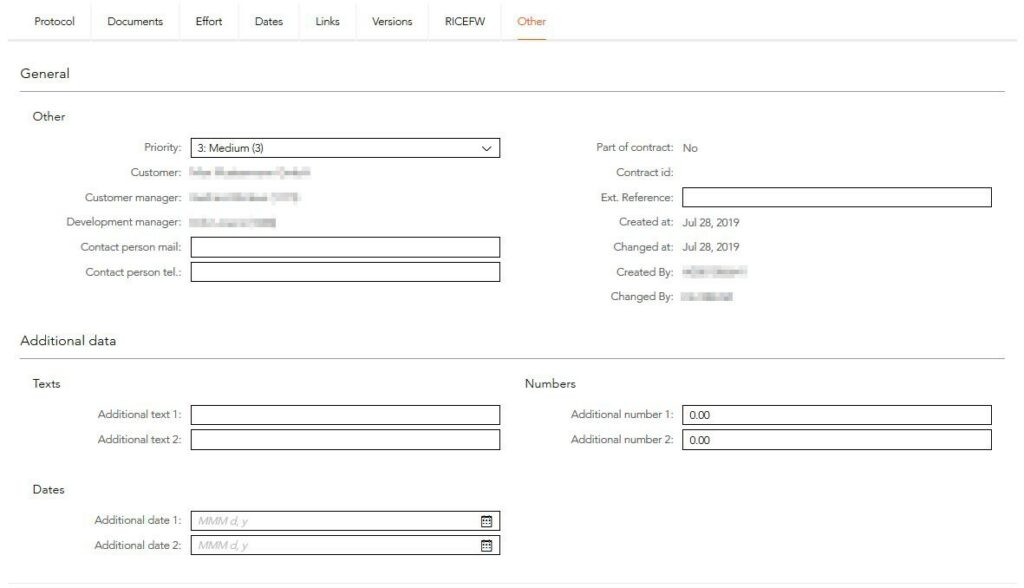
Tab Other
You can enter further relevant information under „Other“.
Once all desired changes have been made, the Workbook-Item can be saved.
When saving, a pop-up window appears to inform all involved persons about the changes by e-mail. Within the window you can set whether and to whom the e-mail should be sent and whether the e-mail should be sent directly or in CC to the respective recipient.
Changes of Workbook-Items
The following fields can be edited directly in the Workbook overview: Status and status text
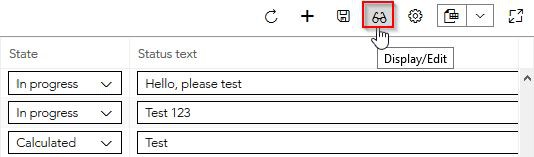
If you select the disk symbol in the upper right corner, the changes will be saved.
Important: the status „Calculated“ can only be set as soon as the efforts have been entered in the detail view.